MacOS 添加多个相同 Organization OneDrive 账户
It’s been a while since I last posted on the blog. I recently got a Mac and encountered this issue—here’s how to fix it.
In short, macOS Cloud Storage uses “OneDrive - %ORG_NAME%” as the unique identifier when adding OneDrive accounts. This prevents adding multiple identical accounts, which is quite inconvenient for E5 cloud storage free riders like me.
{/* truncate */}
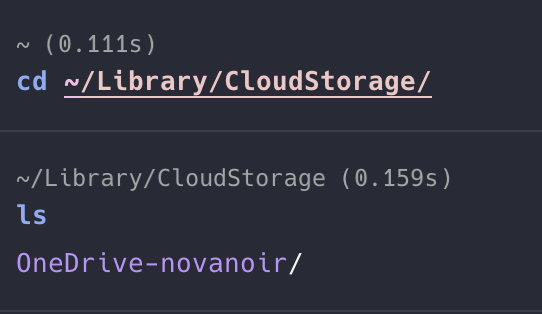
First, add Account A as usual. Once completed, you should see the corresponding OneDrive folder under ~/Library/CloudStorage:
Next, quit all OneDrive applications, then navigate to:
~/Library/Containers/com.microsoft.OneDrive-mac/Data/Library/Application Support/OneDrive/settings/Business1There, you’ll find a file named GUID.ini.
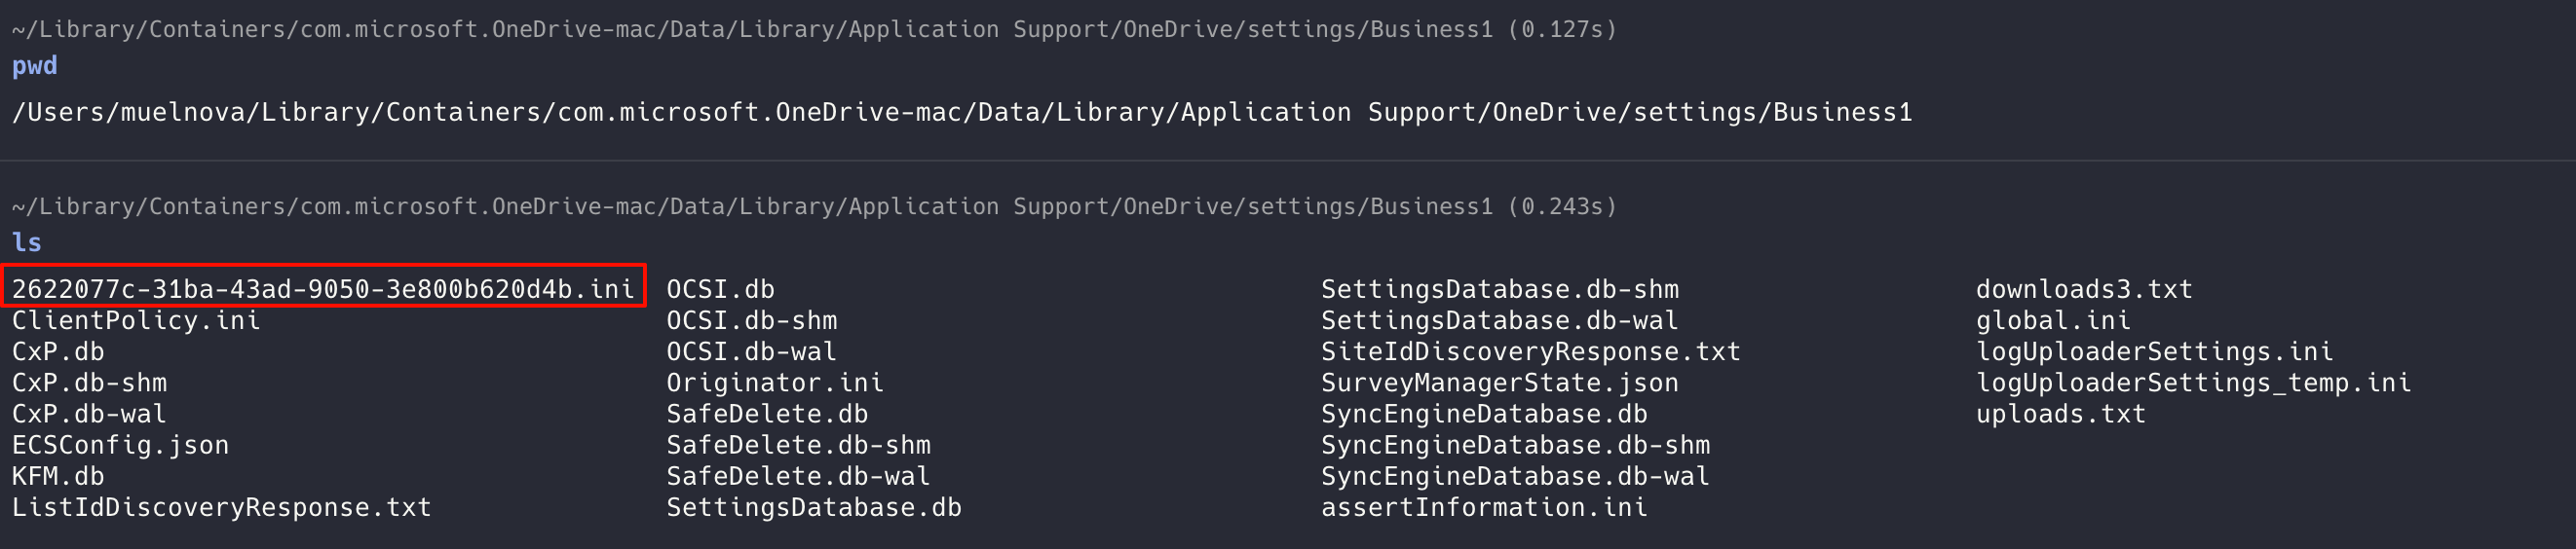
Open that .ini file. You’ll see your organization name written there. Change it to whatever you like (for example, “OneDrive - Photos”), making sure it doesn’t match the actual organization name.

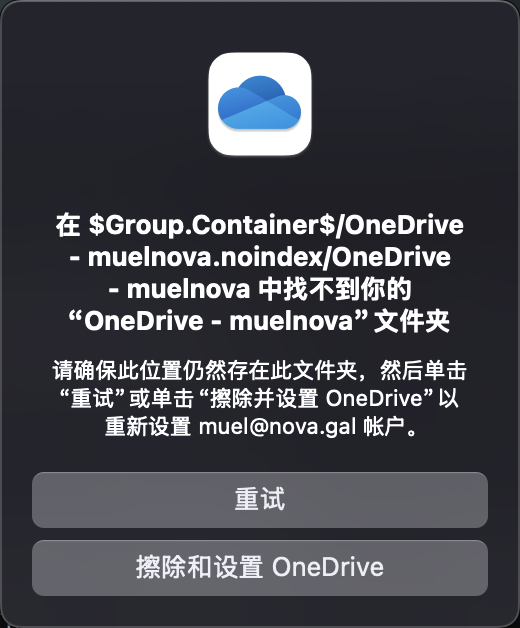
Save the file, then relaunch OneDrive. It should report an error saying it can’t find the modified file. Click Retry, wait a moment, and then restart OneDrive.
OneDrive should now start syncing normally, and you’ll see the renamed folder:
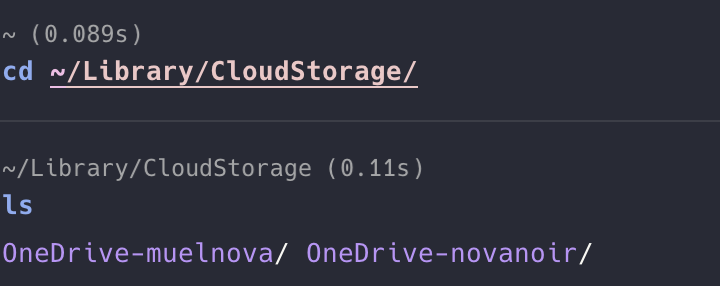
You can now add another account. The new account will be saved in:
~/Library/Containers/com.microsoft.OneDrive-mac/Data/Library/Application Support/OneDrive/settings/Business2From there, repeat the same steps to rename each BusinessX folder as needed.
{/* AI */}